
Spring Seedling Preparation Checklist
Everything you need before March arrives. Soil, containers, heat mats, and the supplies you'll actually use.
A practical walkthrough of foundation, framing, and ventilation. What to budget for and where not to cut corners.
Editorial Team
Written by the haldobright editorial team, focused on practical, easy-to-follow greenhouse and planting guidance for Klaipėda gardeners.
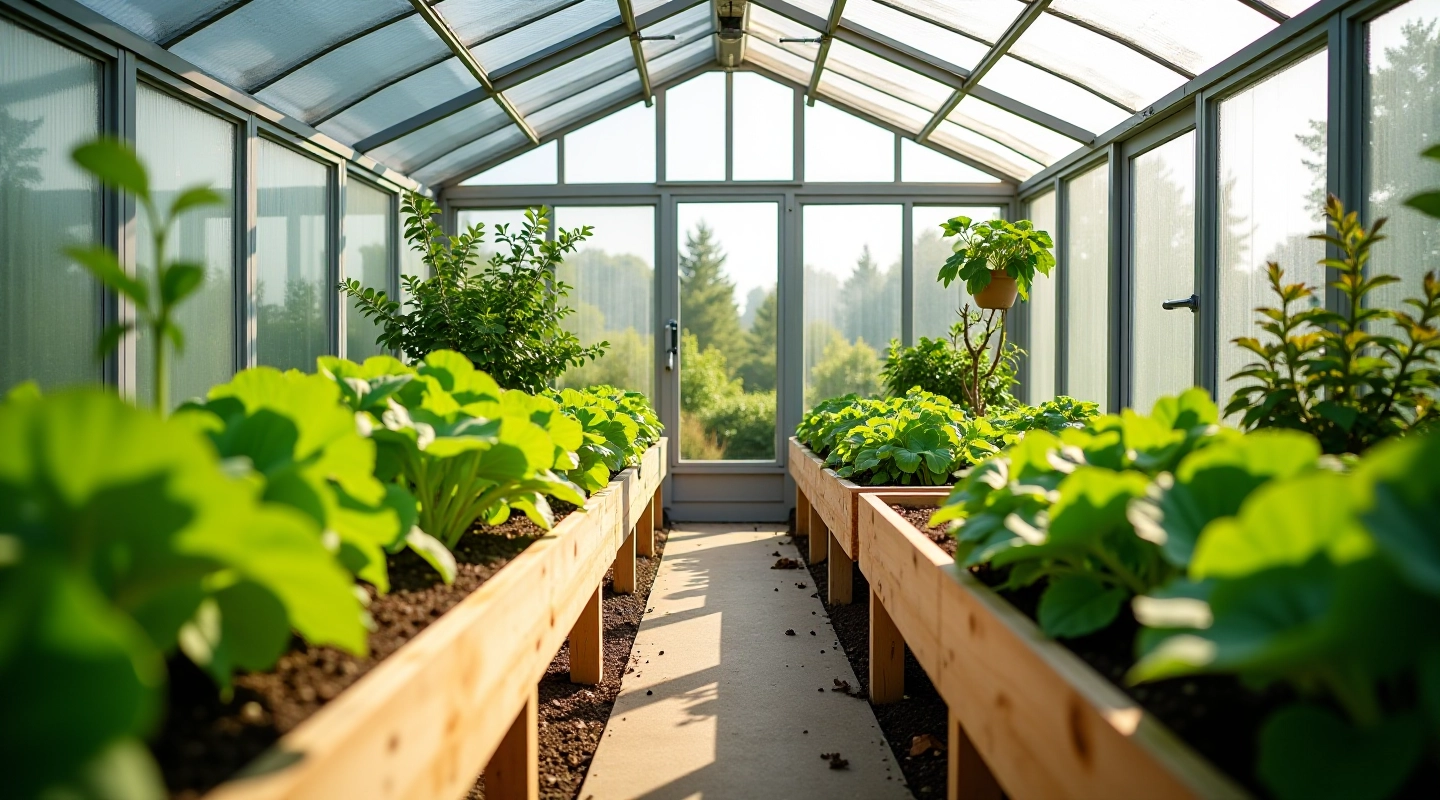
Building a greenhouse isn't complicated. It's honestly one of the best investments you can make if you're serious about growing your own vegetables. You'll get earlier harvests in spring, extend your season into late fall, and protect your plants from harsh weather.
The real question isn't whether you should build one — it's whether you're ready to start. We've put together everything you need to know about foundation work, framing materials, ventilation systems, and budget planning. Most people finish their first greenhouse in 2-3 weekends.
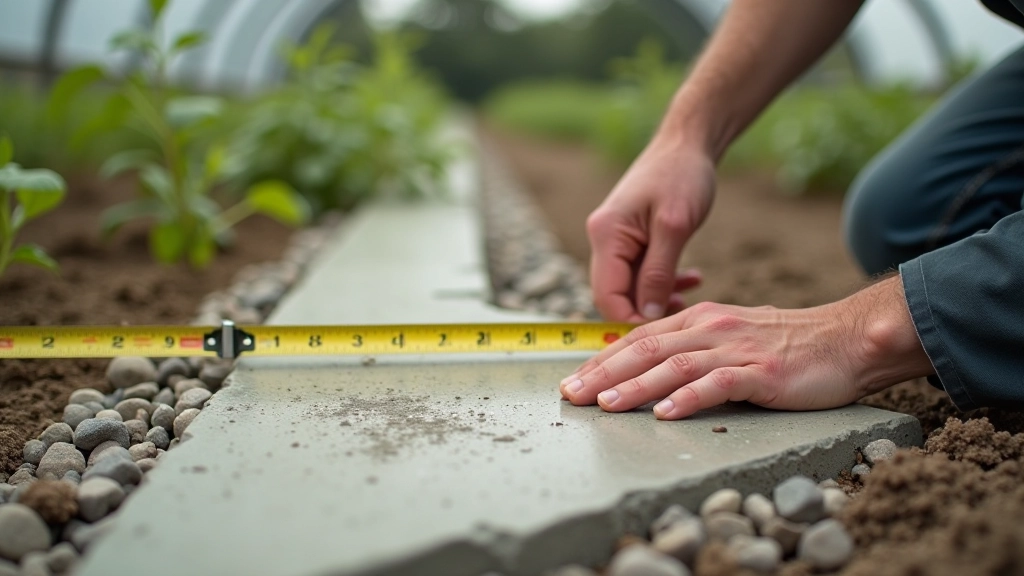
You can't skip the foundation. A solid, level base prevents water pooling, keeps your frame square, and stops settling over time. Don't just lay the greenhouse on dirt — that's how you end up with a crooked structure that leaks.
Most home greenhouses use one of three approaches. A gravel base works if you live in well-draining soil. Concrete footings are more permanent — dig post holes 18-24 inches deep, below the frost line for your region. If you're in Klaipėda, that's typically 30-36 inches down. Wood foundations (using treated lumber) are popular and easier to install yourself.
The key is getting it level. Invest in a decent level or laser level — it'll save you headaches later. Even 1-2 inches of slope across an 8-by-10 greenhouse causes problems with water drainage and frame stress.
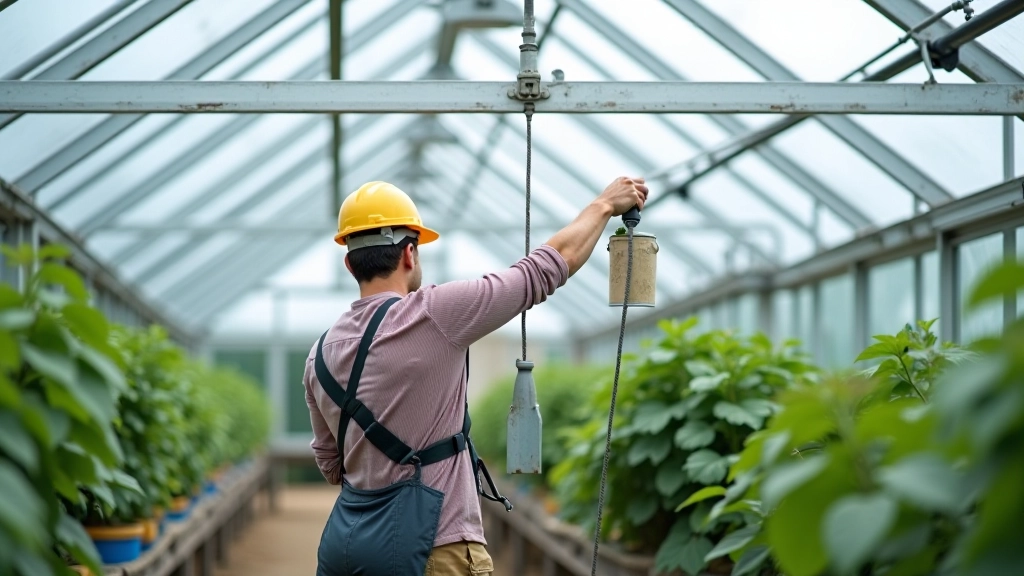
You've got choices here. Aluminum frames are lightweight and require zero maintenance — they won't rot or rust if you get quality anodized aluminum. They're also more expensive upfront. Wood frames (using pressure-treated lumber) are cheaper and easier to work with if you're doing it yourself. They'll last 15-20 years if you maintain them.
Steel frames are the strongest but need painting to prevent rust. Most home gardeners go with aluminum kits or treated wood. An 8-by-10 frame costs between materials and assembly time. Don't cheap out on the frame — a wobbly greenhouse won't stand up to wind.
Attach your frame securely to the foundation. Use anchor bolts into concrete, or secure treated wood to concrete with galvanized brackets. Wind matters, especially in coastal areas. Your structure needs to withstand storms without racking (twisting).
Everything you need before March arrives. Soil, containers, heat mats, and the supplies you'll actually use.
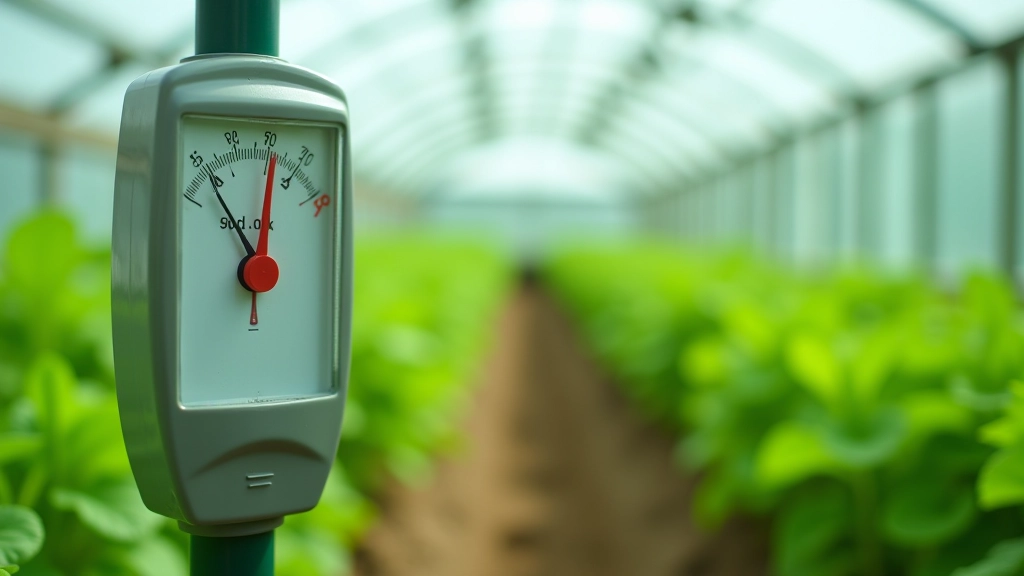
How to monitor and adjust conditions without expensive systems. Vents, fans, and simple techniques that work.
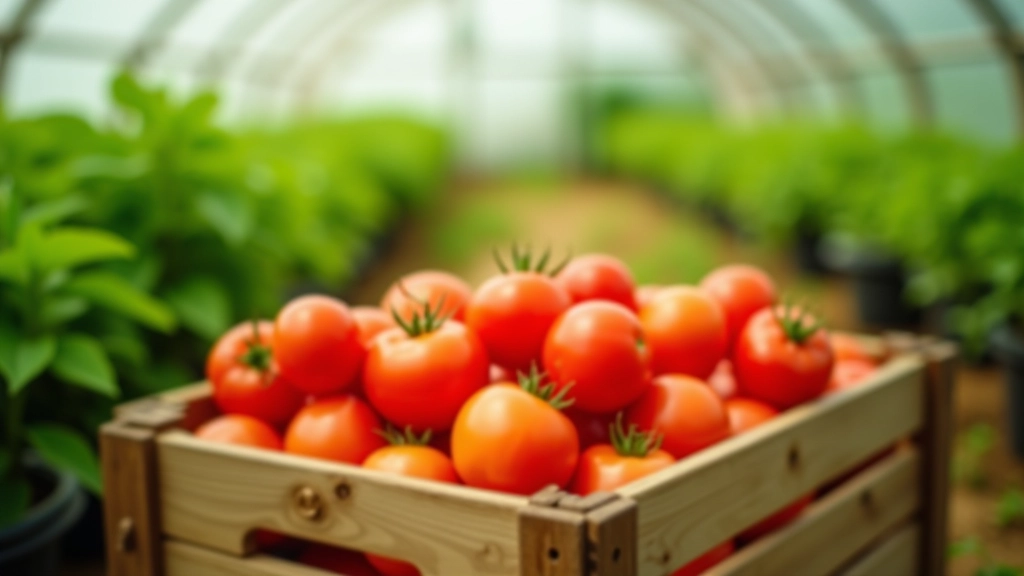
When to pick what. Storage tips for tomatoes, peppers, and leafy greens. Extend your season beyond harvest.
This is where most beginners mess up. You'll think your greenhouse is great until a hot day in May and your plants are wilting because it's 95 degrees inside. Ventilation isn't optional — it's survival for your plants.
You need both roof vents and side vents. Roof vents let hot air escape. Side vents bring in cooler air from outside. If you can, install automatic vent openers that open when temperature hits a certain point — they're about as expensive as a nice dinner out and they work while you're away. A simple rule: if you can't open windows by hand, add at least two roof vents on opposite ends.
Shade cloth is also important for summer. 30-50% shade cloth reduces interior temperatures by 10-15 degrees. In Klaipėda's climate, you'll need this from June through August. Remove it by September when days get shorter and cooler.
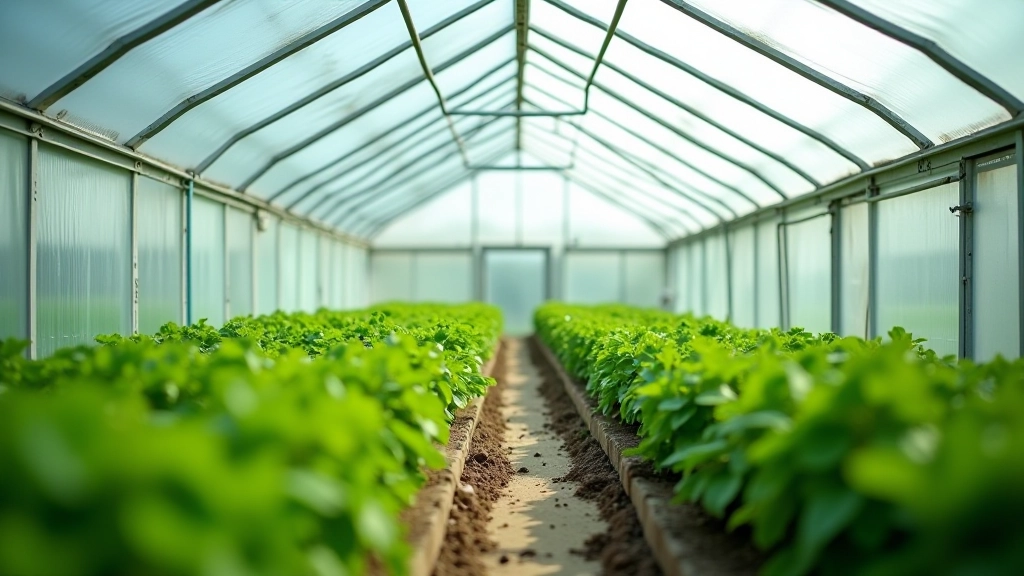
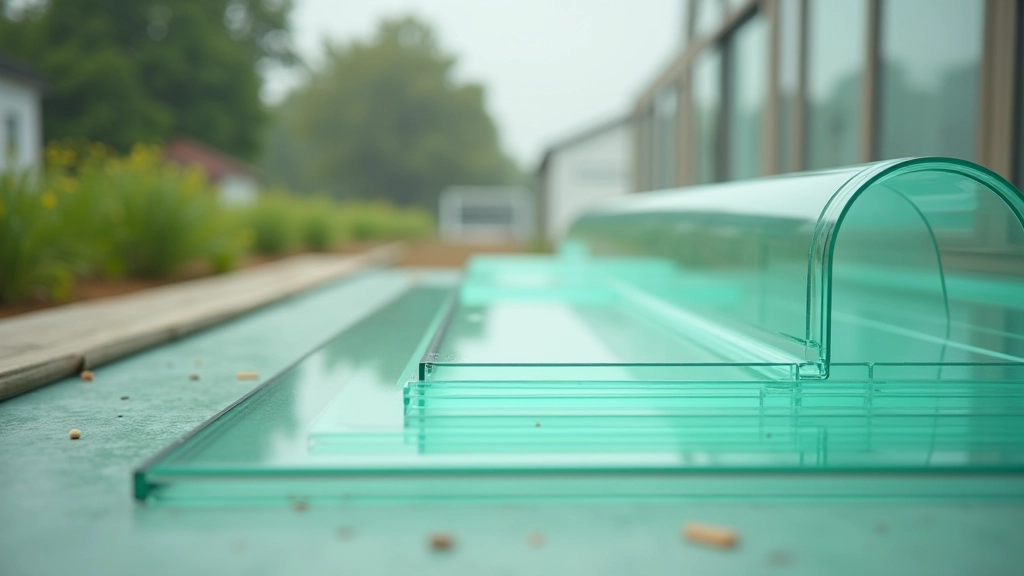
This decision affects both cost and performance. Glass transmits more light — about 90% compared to 80-88% for polycarbonate. If you want maximum light penetration for plants, glass is better. But it's heavier, more expensive, and it breaks.
Polycarbonate (rigid plastic panels) is lighter, easier to install, and insulates better. Double-wall polycarbonate has air pockets that help regulate temperature. It yellows over 10-15 years and costs less than glass. For a beginner, polycarbonate makes sense. You'll get adequate light and better heat retention for spring and fall growing.
Avoid cheap single-wall plastic sheeting — it deteriorates in one season. Quality matters here. A greenhouse is a multi-year investment, so spend enough on glazing to get 10+ years of life from it.
This guide is informational and based on common greenhouse construction practices. Building codes, frost lines, and weather conditions vary by location. Check with your local municipality before construction to understand permit requirements and setback rules. We're not structural engineers — if you're building something larger than a standard home greenhouse or in a high-wind area, consider consulting a professional for design review. Safety always comes first.
Setting up your first greenhouse isn't complicated if you get the fundamentals right. A solid foundation keeps everything stable. Quality framing holds the structure together. Proper ventilation keeps your plants alive. And the right glazing lets light in while protecting from weather.
Start with the foundation — spend the time to get it level. The rest follows naturally. Most people finish their first greenhouse in 2-3 weekends. You'll be amazed at what you can grow once you have consistent conditions and season extension.
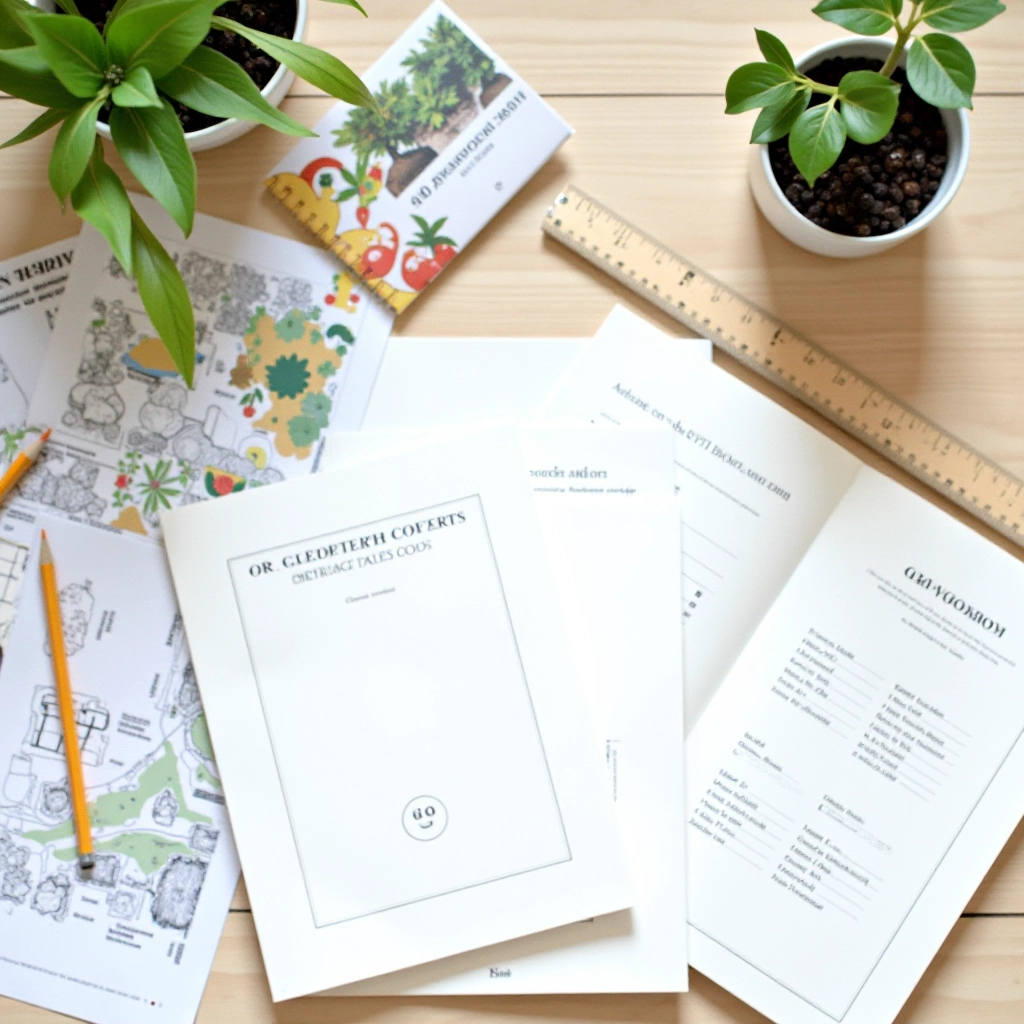
Next step? Plan your layout. Think about where your beds will go, how you'll arrange plants, and what you'll grow first. That's when the real fun starts.