
Spring Seedling Preparation Checklist
Everything you need before March arrives. Soil, containers, heat mats, and the schedule that actually works in Klaipėda.
Haldobright Editorial Team
Editorial Team
Written by the haldobright editorial team, focused on practical, easy-to-follow greenhouse and planting guidance for Klaipėda gardeners.
Why March Prep Matters
You can't start seeds in March if you're still gathering supplies in February. We're talking soil, trays, labels, and heat. Plus the space to actually work. If you're growing from seed — and you really should, it's cheaper and way more satisfying — you'll need to get ready now.
The window's tight here in Klaipėda. Start too early indoors and seedlings get leggy and weak. Start too late and you'll be transplanting full-sized plants in May when the weather's already warm. The sweet spot? Mid-to-late March for most vegetables. That means you're setting up in January and February.
The Pre-March Checklist
Break this into three weeks. Week one: gather supplies. Week two: prep your space. Week three: final checks.
Get Your Soil
Don't use garden soil. Seriously. It's too heavy, compacts in containers, and holds too much water. You want seed-starting mix — something light and fluffy. Buy 2-3 bags of commercial seed-starting medium. You'll know you have enough when you can fill your trays with about an inch left to the rim.
If you're the DIY type, mix your own: 1 part perlite, 1 part peat moss or coco coir, 1 part vermiculite. It's cheaper if you're doing a lot of seeds. Either way, get it now while garden centers aren't picked clean.
Containers & Labels
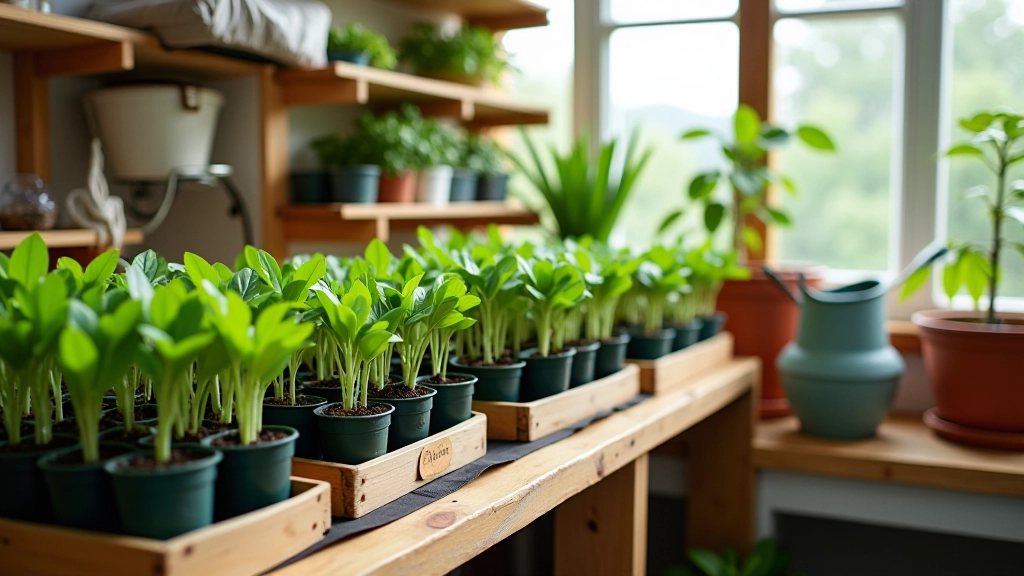
You need trays — either modular ones with individual cells (great for tomatoes and peppers) or shallow flats (good for lettuce and herbs). Drainage holes are non-negotiable. If your trays don't have them, you'll get root rot and then everything dies.
Get labels. Real ones. Plastic stakes, popsicle sticks with permanent marker, whatever. You think you'll remember which tray is 'Sungold' and which is 'Brandywine' in three weeks. You won't. Trust us.
Heat Mat (Optional but Worth It)
A seedling heat mat isn't required, but it cuts germination time in half. Seeds need warmth to sprout. If your greenhouse or windowsill sits at 15-18°C, you're looking at slow germination. A mat keeps the soil at 21-24°C, which is ideal for most vegetables.
You don't need anything fancy — a basic mat that fits under one standard tray costs about as much as a bag of seeds. Just plug it in, set the thermostat if it has one, and you're done. Remove it once seedlings sprout.
Light Source
Windowsills don't cut it unless you have south-facing glass and no obstructions. Seedlings grown in dim light get tall and spindly. You want sturdy, compact plants. A basic LED grow light setup over a shelf works perfectly. You don't need professional horticultural lights — even standard LED shop lights at 15cm above the seedlings will do the job.
Set it on a timer for 14-16 hours a day. That mimics spring daylight and keeps seedlings from stretching.
Space to Work
You need a flat surface — a shelf in the greenhouse, a table, even a sturdy bookcase. Something that won't collapse when wet. Seedlings need consistent moisture, so you'll be watering often. The surface needs to handle that.
Clear the space now. Remove old pots, tools, anything in the way. You want room to move trays around, access everything easily, and keep the area organized.
Watering Setup
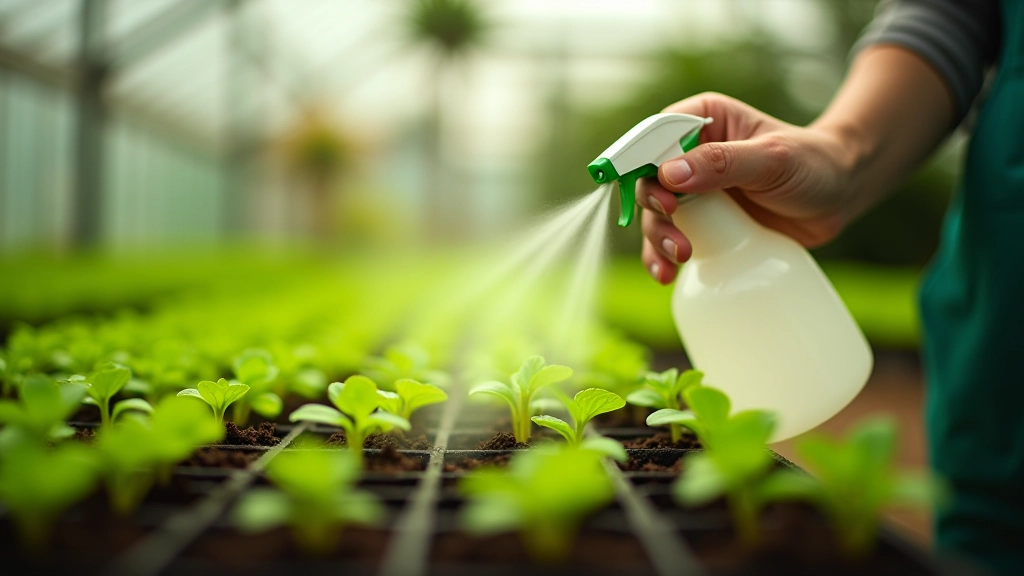
Get a spray bottle with a fine mist setting. Not a heavy spray — that'll bury small seeds. A gentle mist keeps the surface moist without washing seeds around.
Once seedlings emerge, switch to bottom watering if you can. Set trays in a shallow water container for 10-15 minutes. The soil wicks up moisture, and foliage stays dry. Wet leaves invite fungal problems.
Keep a humidity dome or plastic wrap over trays until seeds germinate. It traps moisture so you don't have to mist constantly. Remove it the moment green appears.
Related Guides
Once seedlings are growing, you'll need to manage your greenhouse environment and eventually harvest your work. These guides help with the next steps.
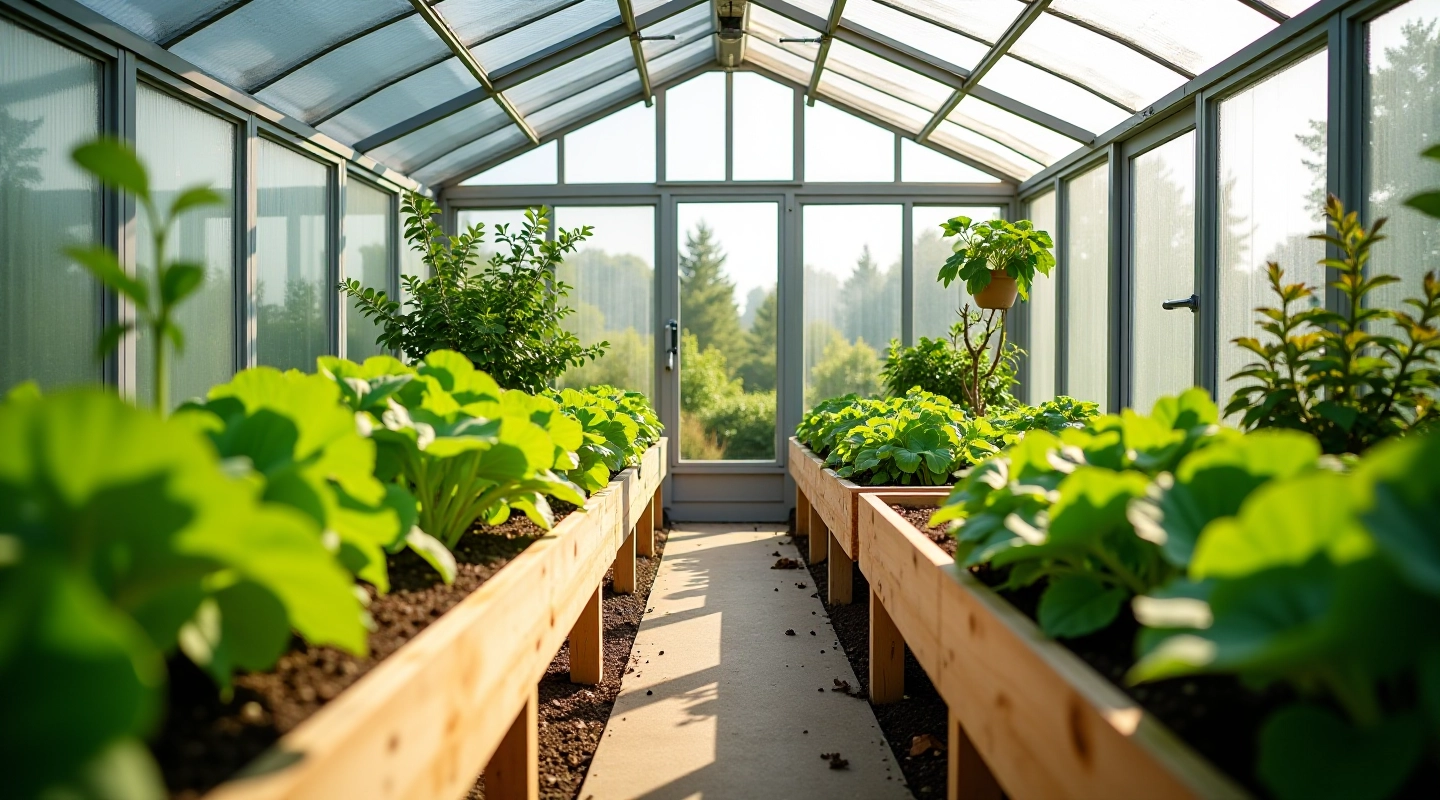
Setting Up Your First Home Greenhouse
A practical walkthrough of foundation, framing, and ventilation. What to budget for, where to put it, and how to avoid common mistakes.
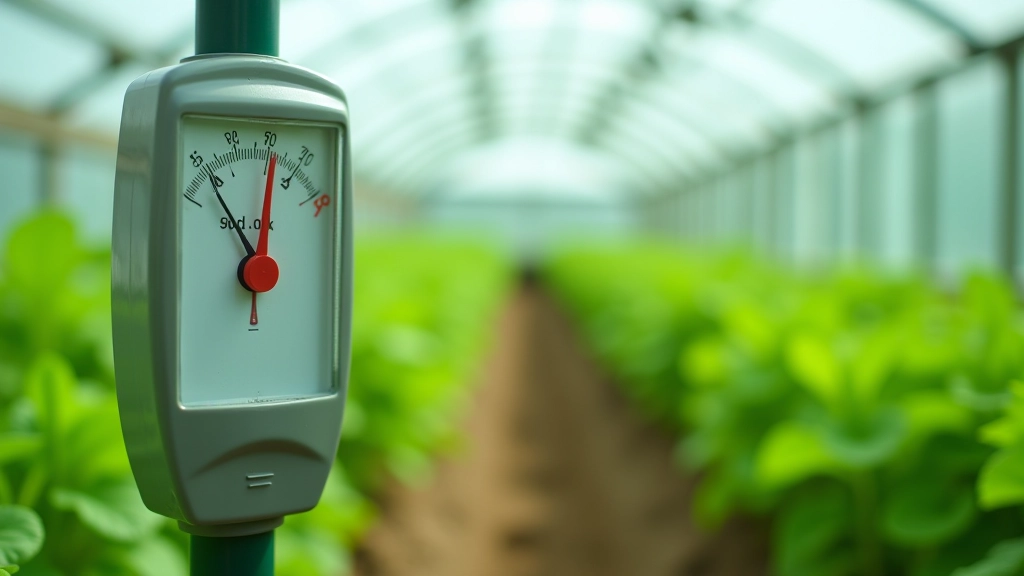
Climate Control: Temperature and Humidity
How to monitor and adjust conditions without expensive systems. Vents, fans, and shade cloth. Keep seedlings happy with simple tools.
Harvesting and Storing Vegetables
When to pick what. Storage tips for tomatoes, peppers, and leafy greens. Extend your harvest season and reduce waste.
Information Note
This guide is designed to share practical approaches to seedling preparation based on common greenhouse practices in Klaipėda's climate. Conditions vary by location, greenhouse setup, and individual circumstances. We recommend observing your specific growing environment and adjusting watering, temperature, and light based on your seedlings' response. For specialized growing questions, consult local gardening experts or your regional agricultural extension service.
Ready to Start
You don't need a lot to grow seedlings. Soil, trays, water, light, and warmth. That's it. Get these sorted now, and by March you'll be planting seeds instead of scrambling to find supplies. You'll watch tiny green shoots emerge, and it's honestly worth the planning.
Start a list. Go through the checklist above. Grab what you need over the next few weeks. Your future self in March will be grateful.